Cleaning isn’t just a chore; it’s the cornerstone of a healthy and organized life. In this post, I’ll introduce you to the 7 step cleaning process, a method that will help you transform your cleaning routine from a hassle into a breeze. Whether you’re a cleaning novice or a seasoned pro, stick around to discover how these seven steps can make your living space shine while saving you time and energy.
What Is the 7 Step Cleaning Process?
Step 1: Gathering Supplies – Setting the Foundation
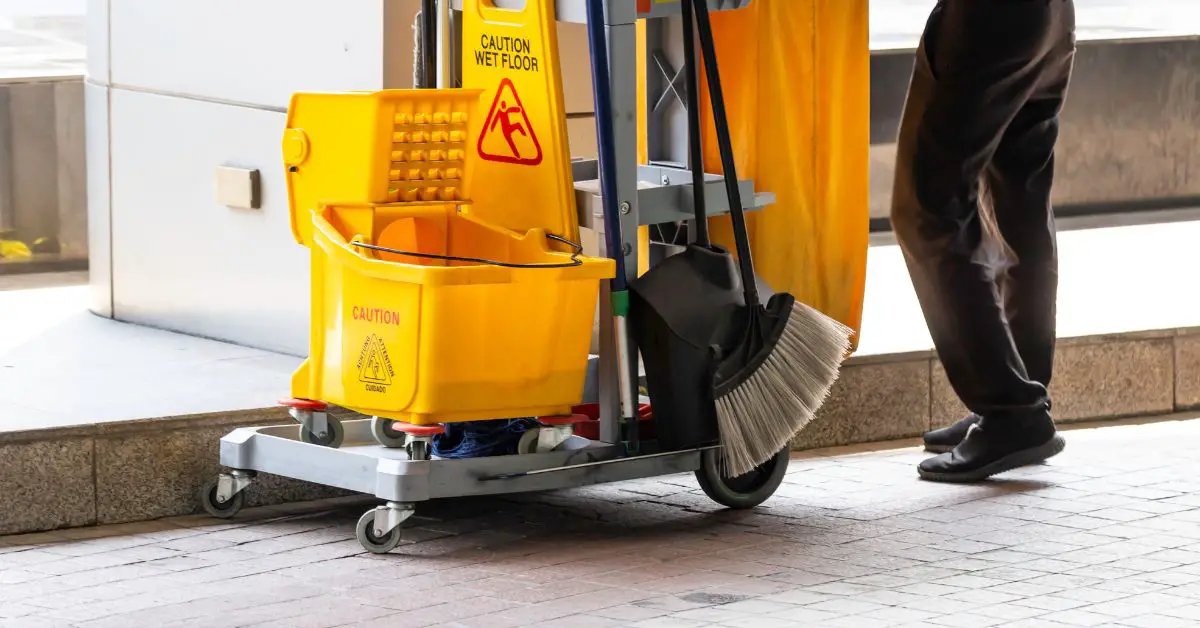
In the first stage of any cleaning process, you start by assembling the essential cleaning supplies. Having the right tools at your disposal can make all the difference in the efficiency and effectiveness of your cleaning routine. From all-purpose cleaners to microfiber cloths, I’ll provide you with a comprehensive list of must-have items. Ensuring that you’re always prepared for any cleaning task that comes your way.
A Comprehensive List of Must-Have Cleaning Supplies
- All-Purpose Cleaner: An all-purpose cleaner is a versatile workhorse that can tackle a wide range of cleaning tasks. Look for one that is effective against grease, grime, and stains while being safe for various surfaces.
- Microfiber Cloths: These lint-free, highly absorbent cloths are perfect for dusting, wiping, and polishing. They’re reusable, making them an eco-friendly choice.
- Broom and Dustpan: Essential for sweeping floors and removing loose dirt and debris before cleaning.
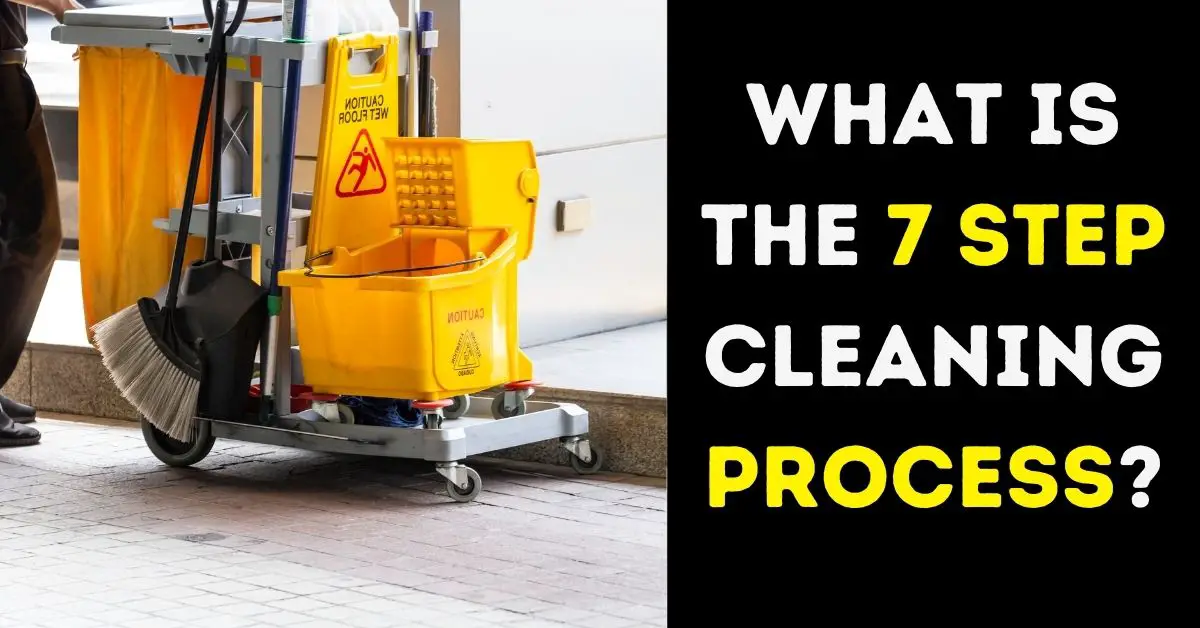
- Mop and Bucket: A good mop and bucket set is essential for cleaning and sanitizing hard floors effectively.
- Vacuum Cleaner: Invest in a quality vacuum cleaner suitable for your flooring type. Consider features like HEPA filtration for improved air quality.
- Scrub Brushes: Have a variety of scrub brushes on hand, from soft-bristle brushes for delicate surfaces to stiff-bristle brushes for tough grime.
- Rubber Gloves: Protect your hands from chemicals and hot water with a pair of durable rubber gloves.
- Trash Bags: Keep a supply of trash bags in various sizes for easy disposal of waste and clutter.
- Disinfectant Wipes: These are convenient for quick disinfection of high-touch surfaces, especially in shared spaces.
- Cleaning Caddy or Bucket: A portable caddy or bucket can keep your cleaning supplies organized and easily transportable from room to room.
- Paper Towels or Cleaning Rags: Stock up on disposable paper towels or use reusable cleaning rags for tasks that require disposable cleaning materials.
- Grout and Tile Cleaner: For bathroom and kitchen maintenance, a specialized grout and tile cleaner can be highly effective.
By ensuring you have these must-have cleaning supplies in your toolkit, you’ll be well-prepared to tackle any cleaning challenge that comes your way. With the right tools at your disposal, you can make your cleaning routine more efficient and effective, leaving your living space cleaner and more inviting.
Step 2: Decluttering – Clearing the Path
In the second step of our 7-step cleaning process, I tackle the essential task of decluttering. This involves systematically removing unnecessary items and organizing what’s left. Why is decluttering so important before cleaning? It maximizes efficiency, reduces cleaning time, enhances focus, and prevents recontamination. Here are some quick tips to make decluttering efficient:
- Set Clear Goals: Define what you want to achieve with your decluttering. Whether it’s tidying up a specific room or tackling a particular category of items, having clear objectives will keep you focused.
- Take it One Step at a Time: Decluttering can be overwhelming if you try to do everything at once. Start with small, manageable areas or categories, like a closet or a set of drawers.
- Sort Items: As you go through your belongings, categorize them into three groups: keep, donate/sell, and discard. Be honest with yourself about what you truly need and use.
- Organize as You Go: Once you’ve decluttered a space, take the opportunity to organize what’s left. Invest in storage solutions like bins, shelves, or drawer dividers to keep things in order.
Embrace these tips, and you’ll pave the way for a more effective and enjoyable cleaning experience in the subsequent steps, resulting in a cleaner, more peaceful living space.
Step 3: Dusting – Banishing the Sneaky Culprit
Dusting is a crucial step in cleaning, as it helps remove allergens that can affect indoor air quality and well-being. Dust is made up of tiny particles that settle on surfaces over time, including dead skin cells, pollen, pet dander, and other allergens that can trigger allergies and respiratory issues. Regular dusting reduces these allergens and improves indoor air quality. It also enhances the overall appearance of the space, making it more inviting.
To effectively dust different surfaces, tailor your approach to different surfaces, such as smooth glass, delicate ornaments, and hard-to-reach corners. For efficient dusting, ensure no dust particle is left behind. For those with allergies, dusting can be a double-edged sword, as it must minimize dust release into the air during the cleaning process. To achieve a cleaner, healthier home, use strategies and tools for allergy-friendly dusting. Once dusting is removed, it’s time to move on to the next steps in the cleaning process.
Step 4: Vacuuming and Sweeping – Floors That Sparkle
In step 4, the focus is on cleaning floors, emphasizing the importance of vacuuming and sweeping. Regular vacuuming helps remove dirt, dust, and allergens, making floors look healthier. Choosing the right vacuum cleaner is crucial, considering your flooring type, lifestyle, and budget.
Techniques for efficient vacuuming and sweeping include creating a cleaning pattern and tackling high-traffic areas. By following these steps, you can maintain pristine floors and transform your living space.
Step 5: Cleaning Surfaces – A Gleaming Canvas
Let’s shift our focus to the surfaces that define your living space, offering an overview of essential cleaning products and their uses, as well as guidance on effective cleaning for different surfaces, such as kitchen counters, bathroom tiles, windows, and floors. Also from eco-friendly cleaning for environmentally conscious, to DIY cleaning solutions to selecting sustainable products. With your surfaces gleaming.
Step 6: Disinfecting – Safeguarding Your Home
In our comprehensive cleaning process, disinfection is a crucial aspect of maintaining a clean and safe living environment. Disinfection goes beyond surface cleanliness and is especially important in shared spaces and during illness outbreaks.
Properly disinfecting surfaces, such as kitchen countertops, doorknobs, and electronics, requires different dwell times and application methods. To use disinfectants safely, follow safety tips such as proper ventilation, avoiding chemical mixing, and securely storing them. With your home disinfected and safe, you’re ready to transform your living space with the final touches.
Step 7: Final Touches – Perfecting Your Clean Space
The final step of the cleaning process involves putting the finishing touches on your living space, ensuring no detail is overlooked. This stage adds a layer of satisfaction to your cleaning routine and ensures a clean and inviting home.
It is crucial to review your work before calling it a day to ensure every task has been completed to your satisfaction. This quality control step prevents missed spots or potential eyesores later on. To maintain a clean living space, adopt daily and weekly routines, and organization strategies, and involve family members or roommates in the cleaning process.
Perfecting your clean space with these final touches and adopting long-term maintenance practices, your home will remain an inviting, healthy, and organized haven for you and your loved ones.
By following these seven steps, you will transform your cleaning routine, enjoy a cleaner, healthier living space, and find cleaning more efficient and manageable.


